On this page
- What is Google Search Console?
- Before you set up Google Search Console
- Step 1: open Search Console and add a property
- Step 2: choose Domain or URL-prefix
- Step 3: verify ownership
- Verify a Domain property with DNS
- Verify a URL-prefix property
- Step 4: submit your sitemap
- Step 5: inspect important URLs
- How to use Google Search Console for SEO
- How to check backlinks in Google Search Console
- Give teammates access
- Common Google Search Console setup problems
- Google Search Console verification failed
- I do not have access
- Sitemap could not be fetched
- Performance reports are empty
- A page is crawled but not indexed
- Connect Search Console to Layzr
- Official Google references
- FAQ
How to set up Google Search Console and use it for SEO
A practical walkthrough for adding your site, choosing the right property type, verifying ownership, submitting a sitemap, and reading the first reports.
Updated May 18, 2026
Google Search Console is the first SEO tool I would set up for a new website. It is free, it comes straight from Google, and it shows the part of SEO most analytics tools miss: how your pages appear before someone clicks.
This guide covers the whole setup flow. You will add a property, choose Domain or URL-prefix, verify ownership, submit a sitemap, inspect a few important URLs, and use the first reports for SEO decisions. Once Search Console is working, pair it with PageSpeed Insights, answer engine optimization, and Lighthouse agentic browsing checks so technical fixes line up with real search and AI visibility work. Screenshot placeholders are written in brackets so you can replace them with your own Google Search Console screenshots later.
What is Google Search Console?
Google Search Console, often shortened to GSC, is Google's tool for website owners, marketers, and SEOs. It shows what Google knows about your site: the queries that trigger your pages, which URLs are indexed, crawl and page indexing issues, Core Web Vitals data when enough field data exists, and the links Google has found.
- Performance shows clicks, impressions, CTR, and average position for Google Search queries and pages.
- URL Inspection shows what Google knows about a specific URL and lets you test the live page.
- Page indexing shows why URLs are indexed, excluded, redirected, blocked, or waiting.
- Sitemaps lets you submit and monitor XML sitemaps.
- Links shows external links, internal links, top linked pages, top linking sites, and top linking text.
- Enhancements and Experience reports show structured data, HTTPS, Core Web Vitals, and related page experience signals when Google has enough data.
Before you set up Google Search Console
You need a Google account and proof that you control the website. The proof can be DNS access, the ability to upload a file, access to the site's HTML, or access to an existing Google Analytics or Google Tag Manager setup.
- Use a company-owned Google account when possible. Personal inboxes get lost when employees or agencies leave.
- Know your canonical URL before you start: https vs http, www vs non-www, and the live domain you want Google to treat as primary.
- Get access to your DNS host if you want the cleanest setup for a full domain.
- Find your XML sitemap URL if you have one. It is often https://www.example.com/sitemap.xml.
- Make sure the homepage is public. A site behind a login or staging password will usually fail tag and file verification.
Step 1: open Search Console and add a property
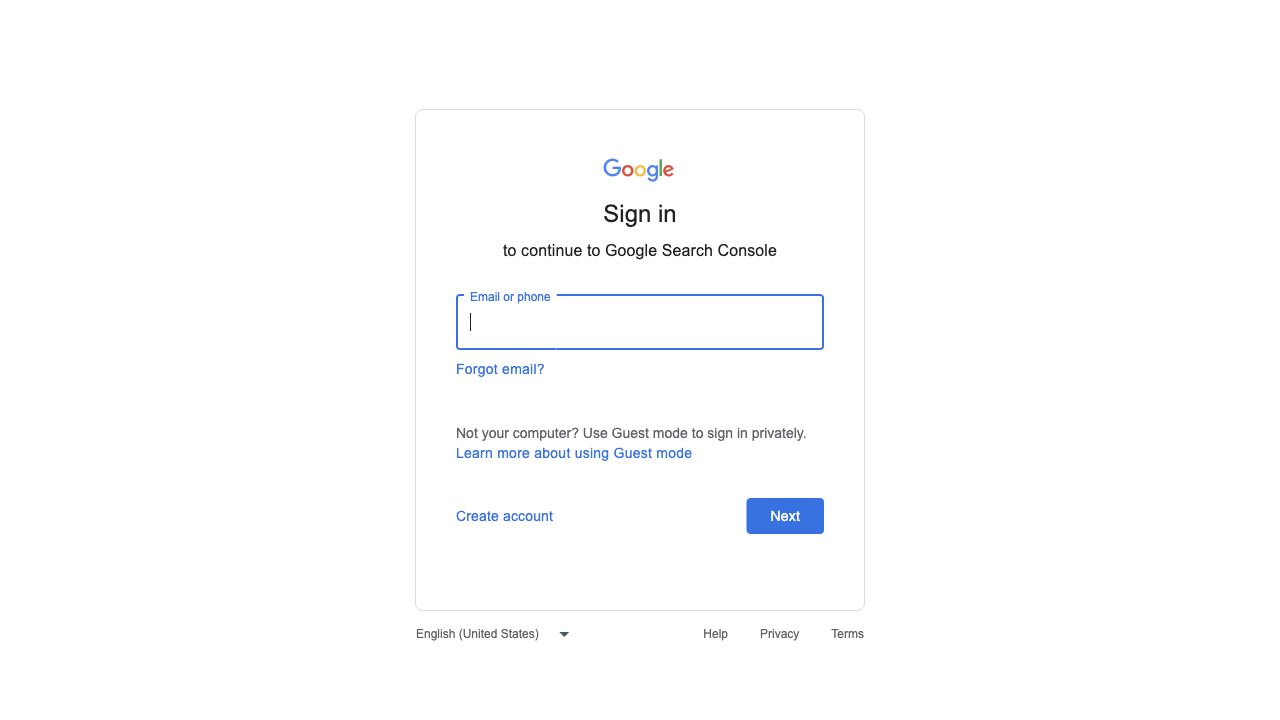
- Go to https://search.google.com/search-console/ and sign in with the Google account that should own or manage the property.
- If this is your first time, click Start now. If you already use Search Console, open the property selector in the top left and choose Add property.
- Google will show two setup options: Domain and URL-prefix. Pause here and choose carefully.
Step 2: choose Domain or URL-prefix
This is the setup choice that causes the most confusion. A Domain property covers the whole domain. A URL-prefix property covers only URLs that start with the exact prefix you entered.
- Domain property: enter example.com without https, http, www, or a path. Google includes all protocols and subdomains for that domain. Verification requires DNS.
- URL-prefix property: enter the exact URL, such as https://www.example.com/. Google only includes URLs that start with that prefix.
- Choose Domain if you own the main domain and can edit DNS.
- Choose URL-prefix if you only control one host, one protocol, or a specific section of a site.
If your site redirects from http to https or from non-www to www, make sure the URL-prefix property matches the final public version. If you add https://example.com/ but the site lives at https://www.example.com/, you will split the data.
Step 3: verify ownership
Verification proves to Google that you control the site. It does not change rankings, indexing, or how the site appears in search. It only opens the private reports for that property.
Verify a Domain property with DNS
- Choose Domain in the add-property flow and enter your domain, such as example.com.
- Copy the TXT record value Google gives you.
- Open your DNS provider, such as Cloudflare, Namecheap, GoDaddy, Route 53, or your hosting DNS panel.
- Create a TXT record using the host or name Google gives you. Paste the TXT value exactly.
- Save the record and wait for DNS to update. This can take a few minutes, but some providers take longer.
- Return to Search Console and click Verify. If it fails, wait a little before editing the record again.
Verify a URL-prefix property
URL-prefix verification gives you more methods, but each method is tied to the exact URL prefix you entered.
- HTML file: download Google's file and upload it to the root of the live site so the exact verification URL opens in a browser.
- HTML tag: copy Google's meta tag into the <head> of the homepage, deploy it, and verify after the live page updates.
- Google Analytics: use this only if the same Google account has edit access to the Analytics property and the tag is already on the homepage.
- Google Tag Manager: use this only if the same Google account has the required GTM permission and the container snippet is live.
- Domain name provider: use the provider flow if Google supports your host and you are comfortable granting access.
Step 4: submit your sitemap
- Open the verified property in Search Console.
- Go to Indexing, then Sitemaps.
- Enter your sitemap location. For many sites this is sitemap.xml or https://www.example.com/sitemap.xml, depending on how the field appears for your property.
- Click Submit.
- Come back later and check whether Google could read it. Submitted does not always mean processed.
A sitemap helps Google discover URLs and gives you a place to monitor whether Google can read your submitted sitemap. It does not force every URL into the index.
Step 5: inspect important URLs
- Paste a high value URL into the inspection bar at the top of Search Console.
- Use the exact canonical URL, including https and the final host.
- Read the result. You are looking for whether Google has indexed the URL, whether crawling is allowed, and which canonical URL Google selected.
- If you recently fixed a real issue, click Test live URL first. If the live test passes, use Request indexing.
- Repeat this for your homepage, one product or service page, one blog post, and any page that matters for revenue.
How to use Google Search Console for SEO
Once data starts coming in, the best SEO work in Search Console usually comes from comparing queries, pages, and indexing status. Do not stare at one average position number and call it a strategy.
- Find queries with high impressions and low CTR. Those pages may need clearer title tags, meta descriptions, or page angles.
- Open the Pages tab in Performance, pick a URL, then switch back to Queries. This shows what that page is actually ranking for.
- Look for query mismatch. If a page ranks for terms it barely answers, rewrite the page or create a better supporting page.
- Use Page indexing to find technical blockers: noindex, redirects, 404s, canonical conflicts, blocked URLs, and discovered pages that Google has not crawled yet.
- Compare the last 28 days with the previous period before assuming traffic changed because of one edit.
- Use device and country filters when a drop only affects mobile users or one market.
- Use Core Web Vitals as a field-data signal, then pair it with a real page review. Fast pages can still have weak design, unclear copy, or poor conversion flow.
How to check backlinks in Google Search Console
When people ask how to check backlinks in Google Search Console, they mean the Links report. It is useful, but it is not a full backlink index like a dedicated link database.
- Open Search Console and choose your property.
- Open Links in the left navigation.
- Under External links, review Top linked pages to see which of your pages attract the most links.
- Open Top linking sites to see which domains link to you most.
- Open Top linking text to see the anchor text Google reports.
- Click More in any table for the larger view, then export if you need a CSV or Google Sheet.
- Check Internal links too. Internal links often explain why important pages are weak or strong inside your own site.
Give teammates access
Verification does not automatically give your team access. Each teammate needs to be added to the property with the right Google account.
- Open Settings in Search Console.
- Choose Users and permissions.
- Click Add user and enter the teammate's Google email address.
- Choose Full for people who need reports and URL Inspection. Choose Restricted for read-only style access. Grant Owner only to people who should manage verification and users.
- Ask the teammate to check that they are signed into the exact Google account you added.
Common Google Search Console setup problems
Most setup issues are boring, which is good news. Work through the matching problem before changing verification methods.
Google Search Console verification failed
- DNS: confirm the TXT record is in the authoritative DNS zone and that the value matches Google's value character for character.
- HTML file: open the verification file URL in an incognito window. If it 404s, upload it to the right document root.
- HTML tag: view the live homepage source and search for the verification string. If it is missing, fix the template or deploy.
- Analytics or Tag Manager: confirm you are using the same Google account that has permission in those products.
I do not have access
Search Console access is tied to a specific Google account rather than an email domain. If your teammate says they do not have access, ask which account is active in the browser. Work Gmail and personal Gmail are easy to mix up.
Sitemap could not be fetched
- Open the sitemap URL in a browser. It should return XML, not a 404, redirect loop, login page, or HTML error page.
- Check robots.txt. Do not block Google from fetching the sitemap.
- Make sure the sitemap uses full canonical URLs, not relative paths.
- If your sitemap was just created, wait and resubmit after the server cache clears.
Performance reports are empty
New properties and low-traffic sites can show little data at first. Google says data begins to appear after the property is added, but it can take a few days before reports look useful. If nothing appears after that, confirm you verified the correct domain or URL prefix.
A page is crawled but not indexed
This does not always mean something is technically broken. Check whether the page is thin, duplicate, blocked by canonical signals, internally orphaned, or too similar to another URL. URL Inspection can show the crawl result, but you still need to judge the page quality and site structure.
Connect Search Console to Layzr
After Search Console is verified, connect the same Google account in Layzr. Search Console gives Layzr query, page, click, impression, CTR, and position context, so audits can focus on pages that already have search demand.
You can also ask follow-up questions about your Search Console data inside Layzr. If impressions are climbing but clicks are flat, a page has a strange average position, CTR looks weak, or an indexing report is hard to read, ask Layzr what it means and what to check next. This separate guide explains how to ask questions about Search Console data.
Official Google references
- Layzr: Ask questions about Search Console dataHow to use Layzr to understand Search Console clicks, impressions, CTR, queries, pages, and indexing issues.
- Google Search ConsoleOpen Search Console and add your property.
- Add a website property to Search ConsoleGoogle's official explanation of Domain and URL-prefix properties.
- Verify your site ownershipGoogle's official verification methods and common errors.
- Ask Google to recrawl your websiteGoogle's guidance on URL Inspection, recrawl requests, and sitemaps.
- Links reportGoogle's official documentation for backlink and internal link reports.
FAQ
What does Google Search Console do?
Google Search Console shows how Google crawls, indexes, and displays your site in search. It reports queries, pages, clicks, impressions, CTR, average position, indexing issues, sitemaps, Core Web Vitals signals, and link data.
What is Google Search Console used for?
It is used to monitor organic search performance, find indexing problems, submit sitemaps, inspect URLs, review backlink and internal link data, and understand which search terms already show your site.
How do I set up Google Search Console?
Open Search Console, add your site as a Domain or URL-prefix property, verify ownership, submit your sitemap, and inspect a few important URLs to make sure Google can crawl and index them.
How do I use Google Search Console to improve SEO?
Start with Performance. Find pages with impressions but low CTR, queries that do not match the page well, and indexing issues that block important URLs. Then update titles, copy, internal links, canonical tags, and technical settings based on what you find.
How do I check backlinks in Google Search Console?
Open the Links report. Review Top linked pages, Top linking sites, and Top linking text under External links. Export the tables if you need to analyze them outside Search Console.
Should I choose Domain or URL-prefix in Search Console?
Choose Domain if you control DNS and want one property for the whole domain. Choose URL-prefix if you only control one exact URL version, such as https://www.example.com/.
How long does Google Search Console take to show data?
Verification can succeed quickly, but useful report data can take a few days to appear. Very new or low-traffic sites may show thin Performance data until Google has search activity to report.
Connect in Layzr
After Search Console is verified and you have access, you can link the same Google account in Layzr and ask follow-up questions about the data.
Open Layzr Search Console settings